Tutorial

Embedded Electronics Tutorial Series - Part 1
by p2 | June 21, 2013 | Post your comment.
If you are here then you may be a hobbyist who desire to build small projects for fun or you may be an engineering student who have never used soldering iron before but wish to build your college project or you are just interested in electronics and wanted to learn. This series of tutorial is for everyone who is interested in electronics and wanted to learn it. All of tutorials posted here will teach basic of electronics.
In this tutorial we’ll learn about one of the most important parts used in any electronic project called microcontroller. And I'll also introduce you to pinguino development platform, it will accelerate microcontroller based project development.
A microcontroller is an inexpensive integrated circuit (IC) with a tiny computer in itself. It has a CPU, small amount of RAM, ROM, digital and analog peripherals, all of these fabricated on a single integrated circuit. Similar to a computer software, microcontroller can store special programs called firmware and can run them. Â For example microcontroller can be programmed to make decisions based on predetermined situations, like if user pushes a button then a indication led will glow.
Today almost every gadget you see around have microcontroller in it, like TV, Refrigerators, mobile phones, remotes, etc. Microcontroller provide mainly two function, first it converts electrical complexity into logical/software complexity, as it has hardware present on the chip and we need to write firmware to use that hardware and second it makes gadgets intelligent because it can be programmed to make decisions if a predetermined situation occurs. Suppose in some refregerators if you kept door open then after some time you can here a continous beep sound indicating to close the door, as soon as you close the door this sound stops. What happens here is that when you open the door microcontroller present inside the fridge uses its internal timer (a hardware present on microcontroller) and starts to count from 0, on every increment of this count its compared with a preprogrammed threshold time/count, if timer exceeds this threshold it makes a beep sound and when door is closed it resets the timer/count to 0. This task is easily accomplished by microcontroller but in case if microcontroller was not used then it would be more complex to accomplish this task plus it would have required more hardware which means its cost would have increased.
Which microcontroller to choose:
Before starting to work with microcontroller you would need to select one. You would be glad to know that there are many companies
which manufacture microcontrollers. To name a few, Microchip, Atmel, Texas Instruments,
Freescale, ARM, Energy Micro, PICAXE. As long as your application requirements
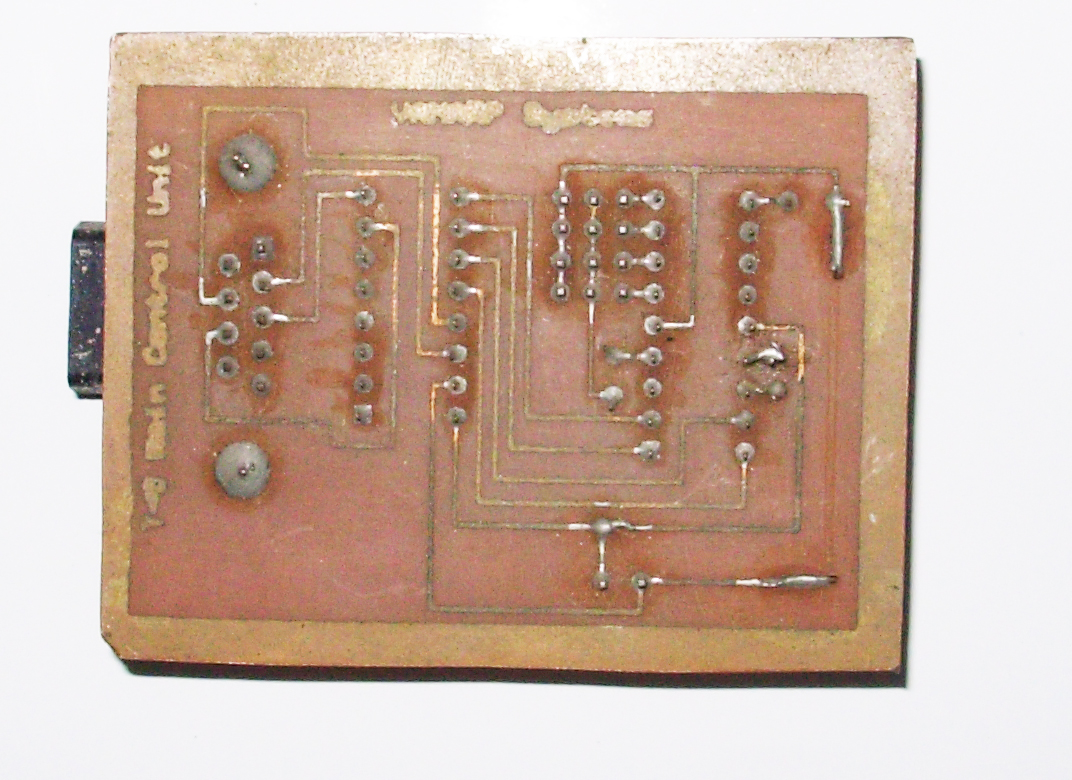
are satisfies you can use any microcontroller. I prefer to use Microchip PIC microcontrollers because I find them easy to use, their high availability and I am familiar with them right from the day I have stated into electronics. My first project was a four servo motor controller, which I build for a GPS guided aerial vehicle, it used PIC16F84A microcontroller. It accepts serial commands using MAX232 to control four servos using pulse width modulation.

After searching in my old electronics project box I was able to find it, i build this in 2005, here are the pictures of it, looks ugly now. MAX232 IC is not present on the board, I have used it in other project. But you can get the idea how microcontroller can be used.
No matter what microcontroller you are working on, to make a microcontroller work you will always require these three basic steps:
1.      Writing code for microcontroller mostly in C, Assembly or Basic
2.      Compiling code into a single file called firmware (.Hex file)
3.      Uploading the firmware into microcontroller using programmers.
First and second step would make clear sense, you would need a text editor to write code and a compiler installed on your PC to compile it. Once compiled a .hex file would be generated by compiler consisting of machine code, this is called firmware. If you are new to microcontroller you will find the third step as something intricate, but in reality it’s the easiest one. To complete the third step you would require a special hardware known as programmer. Programmers are connected in between your PC and microcontroller through serial, parallel or USB port and are controlled by programming software installed on PC, programmer have the ability to read and write microcontroller code memory and so using a programmer you can write firmware into microcontroller.
Once these three steps are completed you are ready to use microcontroller. At this point I would like to inform you that there is an alternate way also to program your firmware into microcontroller without the need of a programmer, but this alternate way also require at least once to use a programmer. I am talking about bootloaders.
Bootloaders are special programs whose ultimate aim is to eliminate need of hardware programmer and to make microcontroller programming easy. Bootloader can only work in microcontrollers which have self-write capability that means it will only work with those microcontrollers which can write their own memory. All together bootloader is a different program which helps in downloading user firmware into microcontroller memory.
Bootloader is programmed only once using a hardware programmer and it resides in the code memory of microcontroller sharing code memory with user program. Once a bootloader is programmed and here after whenever microcontroller is powered up or reset, it first runs the bootloader. Bootloader checks if user wants to write a new firmware or not, if user does not want to transfer a new firmware it hands over the control to existing user firmware residing in the microcontroller memory else it accepts new firmware write it to microcontroller code memory and jumps to this new firmware.
When bootloader starts a PC based software communicates with it and if required transfers firmware to it. Generally firmware can be sent to bootloader using serial port, parallel port, USB or Ethernet. You can also use other channels such as I2C, SPI or even wireless but generally USB and serial bootloaders are used.
Once you have programmed microcontroller with your firmware or with bootloader you would still have to attach additional components, like oscillators, resistors and power supply to microcontroller for it to work. Depending upon what microcontroller you are using this setup would be different.  It’s not difficult to do this but when done repeatedly there are chances that you may connect wrong wires and may burn your microcontroller or you may forget other components to connect and as a newbie find it hard to debug this issue. To completely eliminate this setup and to accelerate our learning we can use microcontroller development platform.
Microcontroller development platforms have all the essential components mounted on a single PCB to work right out of the box. Almost all the microcontroller manufacturing companies provide microcontroller development platform. In the upcoming tutorials I have used Pinguino development platform.
If you have ever heard about arduino, pinguino is similar to that. The only difference is that arduino uses Atmel microcontrollers whereas pinguino uses Microchip PIC microcontrollers. I prefer Pinguino over others because it uses PIC microcontroller. Pinguino development platforms have all the essential components mounted on a single PCB and uses a bootloader to easily transfer your firmware/program from PC to microcontroller. The good news about Pinguino is that you only require a USB cable and a PC to start developing your microcontroller program, it takes the required power from USB port eleminating the need for any external power supply. Pinguino development platform supports different 8 bit and 32 bit microcontrollers. Since you want to start in microcontroller development I would recommend you to use Pinguino 18F2550 or 18F4550 platform, both of which are 8 bit microcontroller development platform with inbuilt USB function.
That’s all in this tutorial but in the next tutorial I’ll walk you through on how to write a simple Hello World program and download it on Pinguino 18F2550 board using pinguino IDE. For the next tutorial you can download pinguino IDE (Compiler + Code Editor) and pinguino drivers (please see this tutorial to know how to install pinguino drivers). Pinguino IDE can be downloaded from this link: http://code.google.com/p/pinguino32/downloads/list.
Where to get Pinguino:
You can built pinguino yourself on breadboard, Pinguino wiki has published schematic diagram to built it: PIC18F2550 Pinguino. You will need a programmer for programming the bootloader. We also carry the two pinguino 8 bit development platform, Pinguino 18F2550 and Pinguino 18F4550, these are fully assembled, tested and shipped with preprogramed bootloader and USB cable. For more information about pinguino please visit: Pinguino Website
If you liked this tutorial, disliked it or have any other comments, please feel free to post it below.Thank You
Pranav